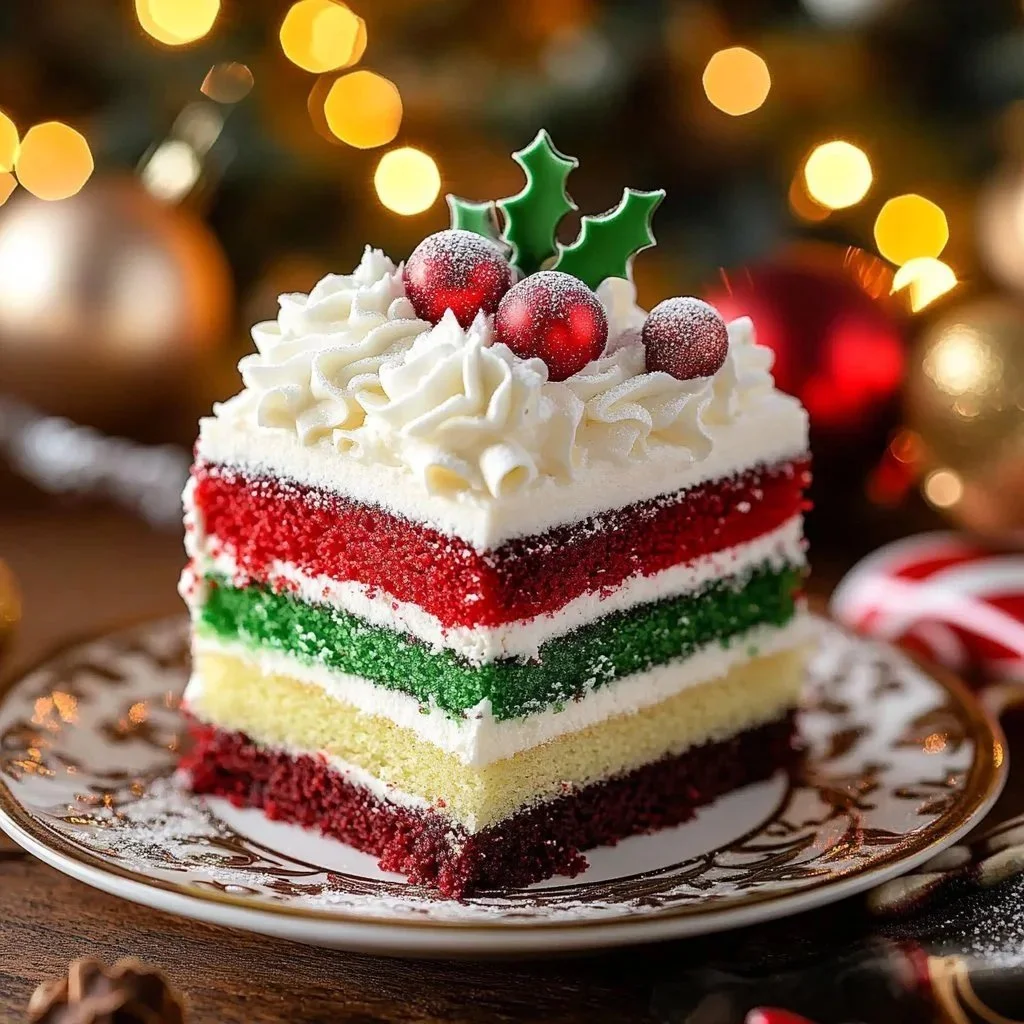
Colorful Mini Layer Cakes delight both the eyes and the taste buds, making them an irresistible treat for any occasion. This recipe invites you into a world of vibrant colors and sweet flavors, creating a delightful experience that encapsulates fun and creativity. With its simple step-by-step instructions, you’ll find that making these charming cakes is not only easy but also a rewarding activity that brings joy to both young and old. Whether for a birthday party or a cozy family gathering, these mini layer cakes will surely leave a lasting impression, making every event feel extra special.
Ingredients
To craft these enchanting Colorful Mini Layer Cakes, you will need the following ingredients:
- 1 box white or vanilla cake mix: This serves as the foundation for your soft and tender cakes, offering a perfect balance of sweetness.
- 1 ounce red food coloring: This vibrant hue not only adds appeal but also evokes fun and festive feelings.
- 1 ounce green food coloring: A lively ingredient that complements the red, together creating a visually stunning treat.
- 1 teaspoon vanilla extract: This aromatic addition brings depth to the cake, infusing it with a delightful flavor.
- Water, oil, and eggs: Follow the cake mix instructions for the proper quantities, contributing moisture and richness.
- 2 cups buttercream frosting: Creamy and sweet, this frosting adds a luxurious texture and flavor to your layered cakes.
- 1/4 teaspoon peppermint extract (optional): For those who enjoy a hint of mint, this optional ingredient gives a refreshing twist.
- 16 ounces Candyquick chocolate: This convenient option helps to create a smooth, glossy coating that finishes your mini cakes perfectly.
- 2 tablespoons shortening (if using regular chocolate): This helps achieve a smooth consistency for the chocolate coating.
Cooking Time & Tips for Colorful Mini Layer Cakes
When it comes to preparing your Colorful Mini Layer Cakes, you can choose between quick and slow preparation methods. Quick preparation involves using boxed cake mix, making it ideal for spontaneous baking sessions. In contrast, slow preparation might involve making everything from scratch. While the latter offers more control over flavors and textures, it requires more time and effort.
Practical Tips for Success: To ensure your mini layer cakes turn out beautifully every time, consider the following tips:
- Bake Evenly: Make sure to distribute the batter evenly in the pans for uniform baking and layers.
- Test for Doneness: Use a toothpick to check if the cakes are done; it should come out clean.
- Cool Properly: Allow cakes to cool completely to prevent the frosting from melting when applied.
- Layering: Be generous with the frosting between the layers for a rich flavor experience.
Step-by-Step Directions
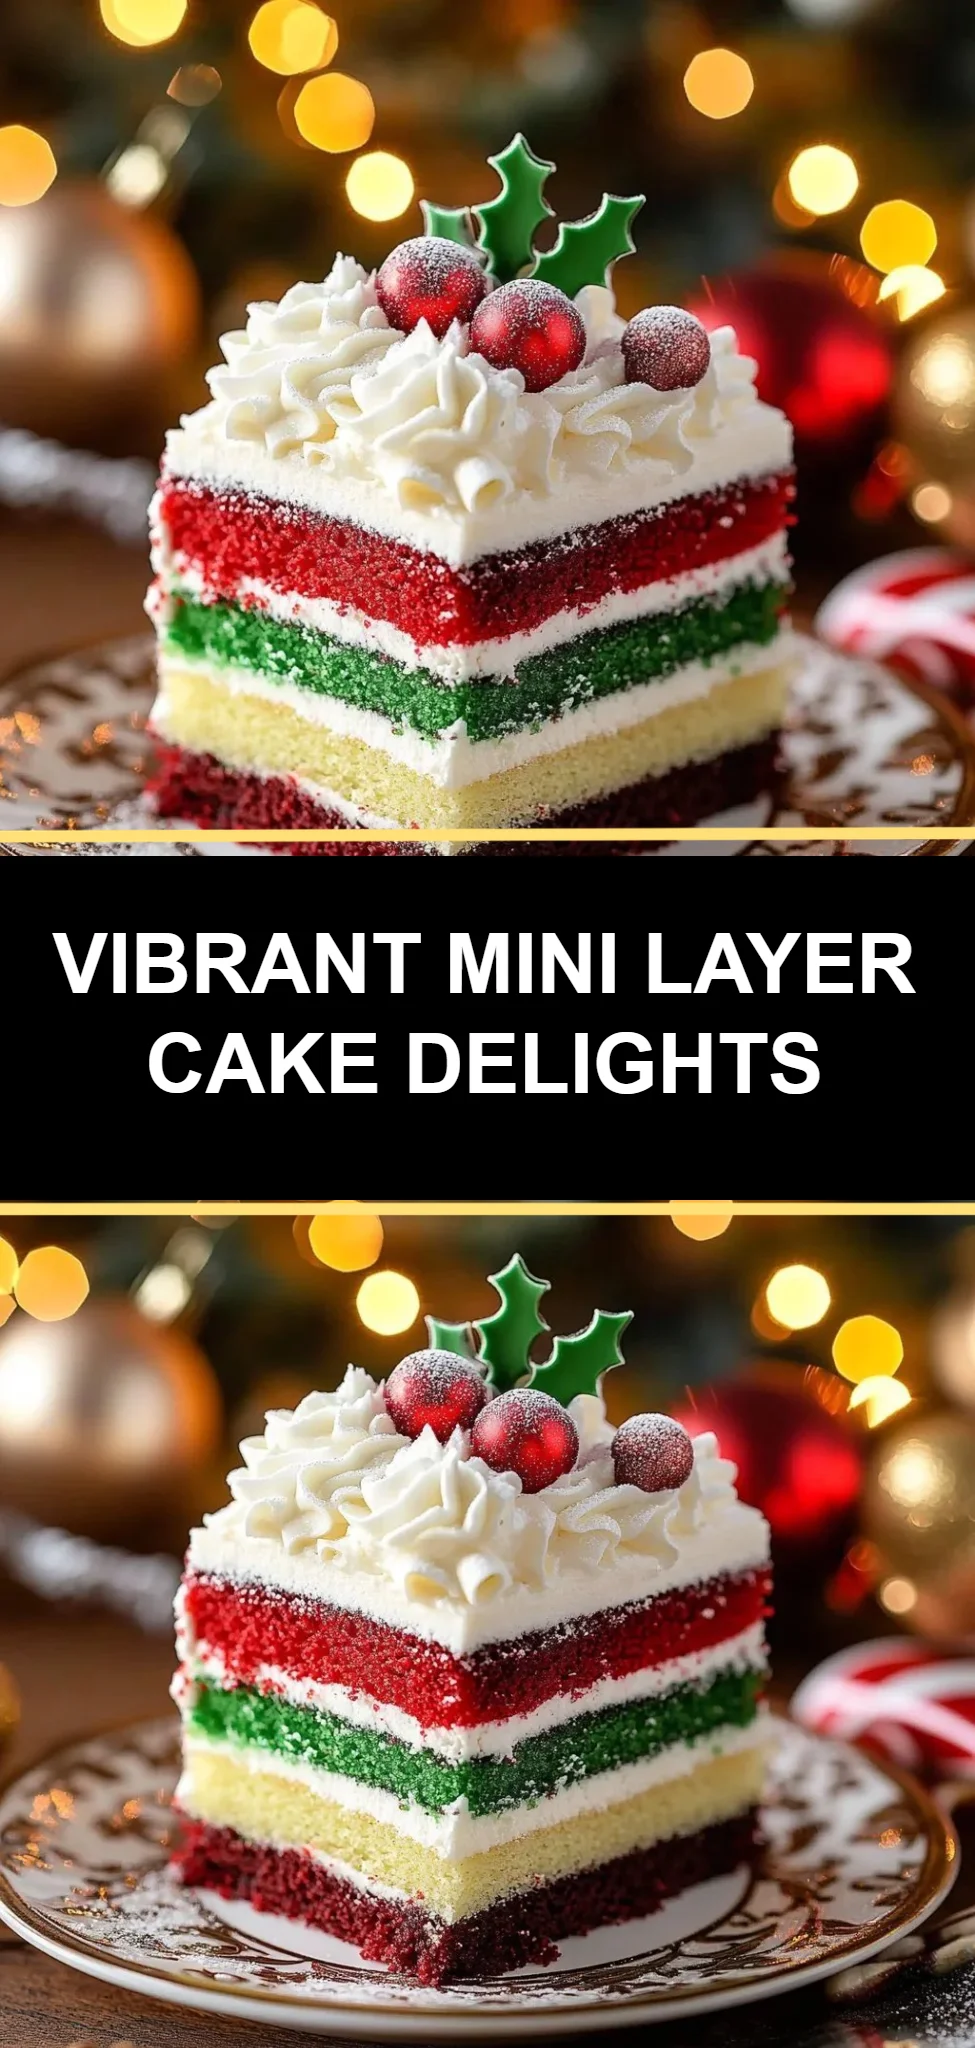
- Preheat your oven to 350°F (175°C) and prepare your baking pans by lining them with parchment paper and spraying with non-stick spray.
- Prepare the cake batter according to the instructions on the box. Divide the batter evenly into two bowls, preparing to add color for our vibrant layers.
- Add red food coloring to one bowl and green food coloring to the other. Mix until the colors are bright and evenly distributed throughout the batter.
- Pour the red batter into one prepared pan and the green batter into the other. Bake for 12-15 minutes, or until a toothpick comes out clean. Your kitchen will smell amazing!
- Allow the cakes to cool completely on wire racks.
- Once cooled, spread a generous layer of buttercream frosting on the green layer, and then place the red layer on top. Chill in the refrigerator for 30 minutes to set the layers.
- Use a round cake cutter to cut out mini cakes.
- Melt the Candyquick chocolate according to the package directions, adding shortening if needed to achieve a smooth consistency.
- Pour the melted chocolate over the mini cakes, ensuring they are completely covered. Allow the chocolate to set before serving.
Serving Suggestions & Occasions
Colorful Mini Layer Cakes are versatile treats fit for a variety of occasions. Serve them at birthday parties, family gatherings, or even casual brunches. Their vibrant colors make them a fantastic centerpiece for dessert tables, and they can be decorated further with sprinkles, edible glitter, or fresh fruit. For something a little more unique, consider pairing them with a scoop of vanilla ice cream or a dollop of whipped cream.
Common Mistakes for Colorful Mini Layer Cakes
While making Colorful Mini Layer Cakes is simple, there are a few common pitfalls to avoid:
- Overmixing Batter: This can result in tough cakes. Mix just until the ingredients are combined.
- Incorrect Oven Temperature: Always preheat your oven and use an oven thermometer if you’re unsure of its accuracy.
- Not Chilling the Layers: Failing to chill the layers can make them difficult to stack and frost without sliding around.
- Skipping the Parchment Paper: This can lead to cakes sticking to the pans, ruining their shape when removed.
Healthier Alternatives & Variations
For those looking to make healthier or alternative versions of Colorful Mini Layer Cakes, consider the following modifications:
- Whole Wheat Flour: Substitute part or all of the white flour in the cake mix with whole wheat flour for added nutrition.
- Natural Sweeteners: Replace sugar in the frosting with natural sweeteners like honey or maple syrup for a healthier frosting option.
- Fruit Purees: Use fruit purees instead of some of the fat (like oil) in the cake mix for a moist texture without added fats.
- Alternative Frostings: Explore using yogurt-based frostings or whipped coconut cream as a lighter option.
- Gluten-Free Options: Use gluten-free cake mixes to cater to gluten-sensitive guests.
FAQs
Can I use other food coloring?
Yes, you can use gel food coloring for more vibrant colors.How long can I store these cakes?
These mini layer cakes can be stored in an airtight container for up to three days at room temperature or a week in the refrigerator.Can I freeze the cakes?
Absolutely! Freeze the individual layers before frosting and store them in freezer-safe bags.What can I use instead of Candyquick?
Melting chocolate chips or even homemade chocolate ganache work well as alternatives.Is the peppermint extract necessary?
It’s optional, but it adds a lovely minty flavor that pairs well with the chocolate.What if I don’t have round cake cutters?
You can use any cookie cutter shape you have on hand or simply cut the cakes into squares.
Conclusion
With vibrant colors and delightful flavors, Colorful Mini Layer Cakes are an irresistible treat waiting to be made. Their charm and playfulness make them perfect for any celebration or simple family gathering, inviting smiles with each slice. So why wait? Gather your ingredients and dive into this delightful baking adventure today! You’ll be rewarded not only with delicious desserts but also with cherished moments shared around the table.
Colorful Mini Layer Cakes
Ingredients
For the Cake
- 1 box white or vanilla cake mix Foundation for the soft and tender cakes.
- 1 ounce red food coloring Adds vibrant color.
- 1 ounce green food coloring Complements the red for visual appeal.
- 1 teaspoon vanilla extract Infuses the cake with delightful flavor.
- Water, oil, and eggs Follow the cake mix instructions for quantities.
For the Frosting and Coating
- 2 cups buttercream frosting Adds luxuriously sweet texture and flavor.
- 1/4 teaspoon peppermint extract (optional) Adds a refreshing twist.
- 16 ounces Candyquick chocolate For a smooth, glossy coating.
- 2 tablespoons shortening (if using regular chocolate) Helps achieve a smooth consistency.
Instructions
Preparation
- Preheat your oven to 350°F (175°C) and prepare your baking pans by lining them with parchment paper and spraying with non-stick spray.
- Prepare the cake batter according to the instructions on the box. Divide the batter evenly into two bowls, preparing to add color for vibrant layers.
- Add red food coloring to one bowl and green food coloring to the other. Mix until the colors are bright and evenly distributed.
- Pour the red batter into one prepared pan and the green batter into the other. Bake for 12-15 minutes, or until a toothpick inserted comes out clean.
Cooling and Layering
- Allow the cakes to cool completely on wire racks.
- Spread a generous layer of buttercream frosting on the green layer, and then place the red layer on top. Chill in the refrigerator for 30 minutes to set the layers.
- Use a round cake cutter to cut out mini cakes.
Coating
- Melt the Candyquick chocolate according to the package directions, adding shortening if needed to achieve a smooth consistency.
- Pour the melted chocolate over the mini cakes, ensuring they are completely covered. Allow the chocolate to set before serving.