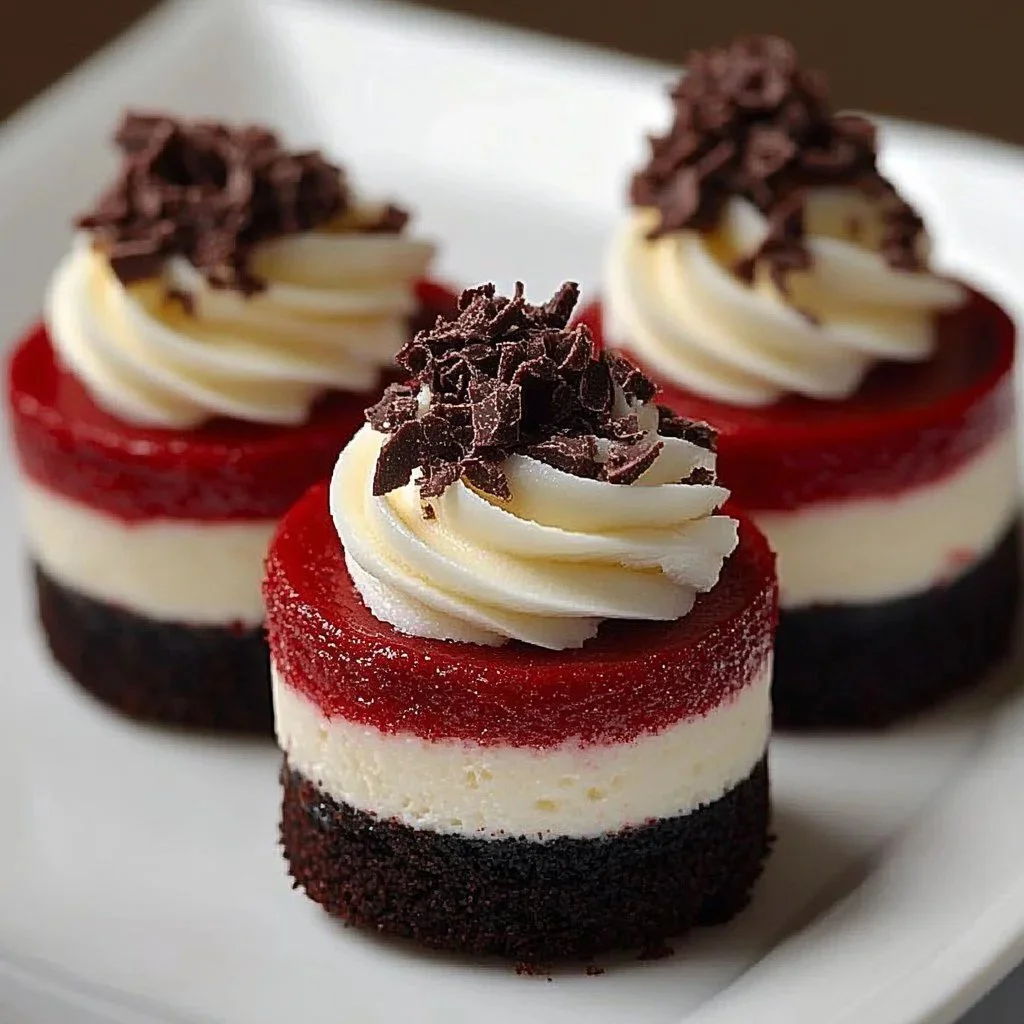
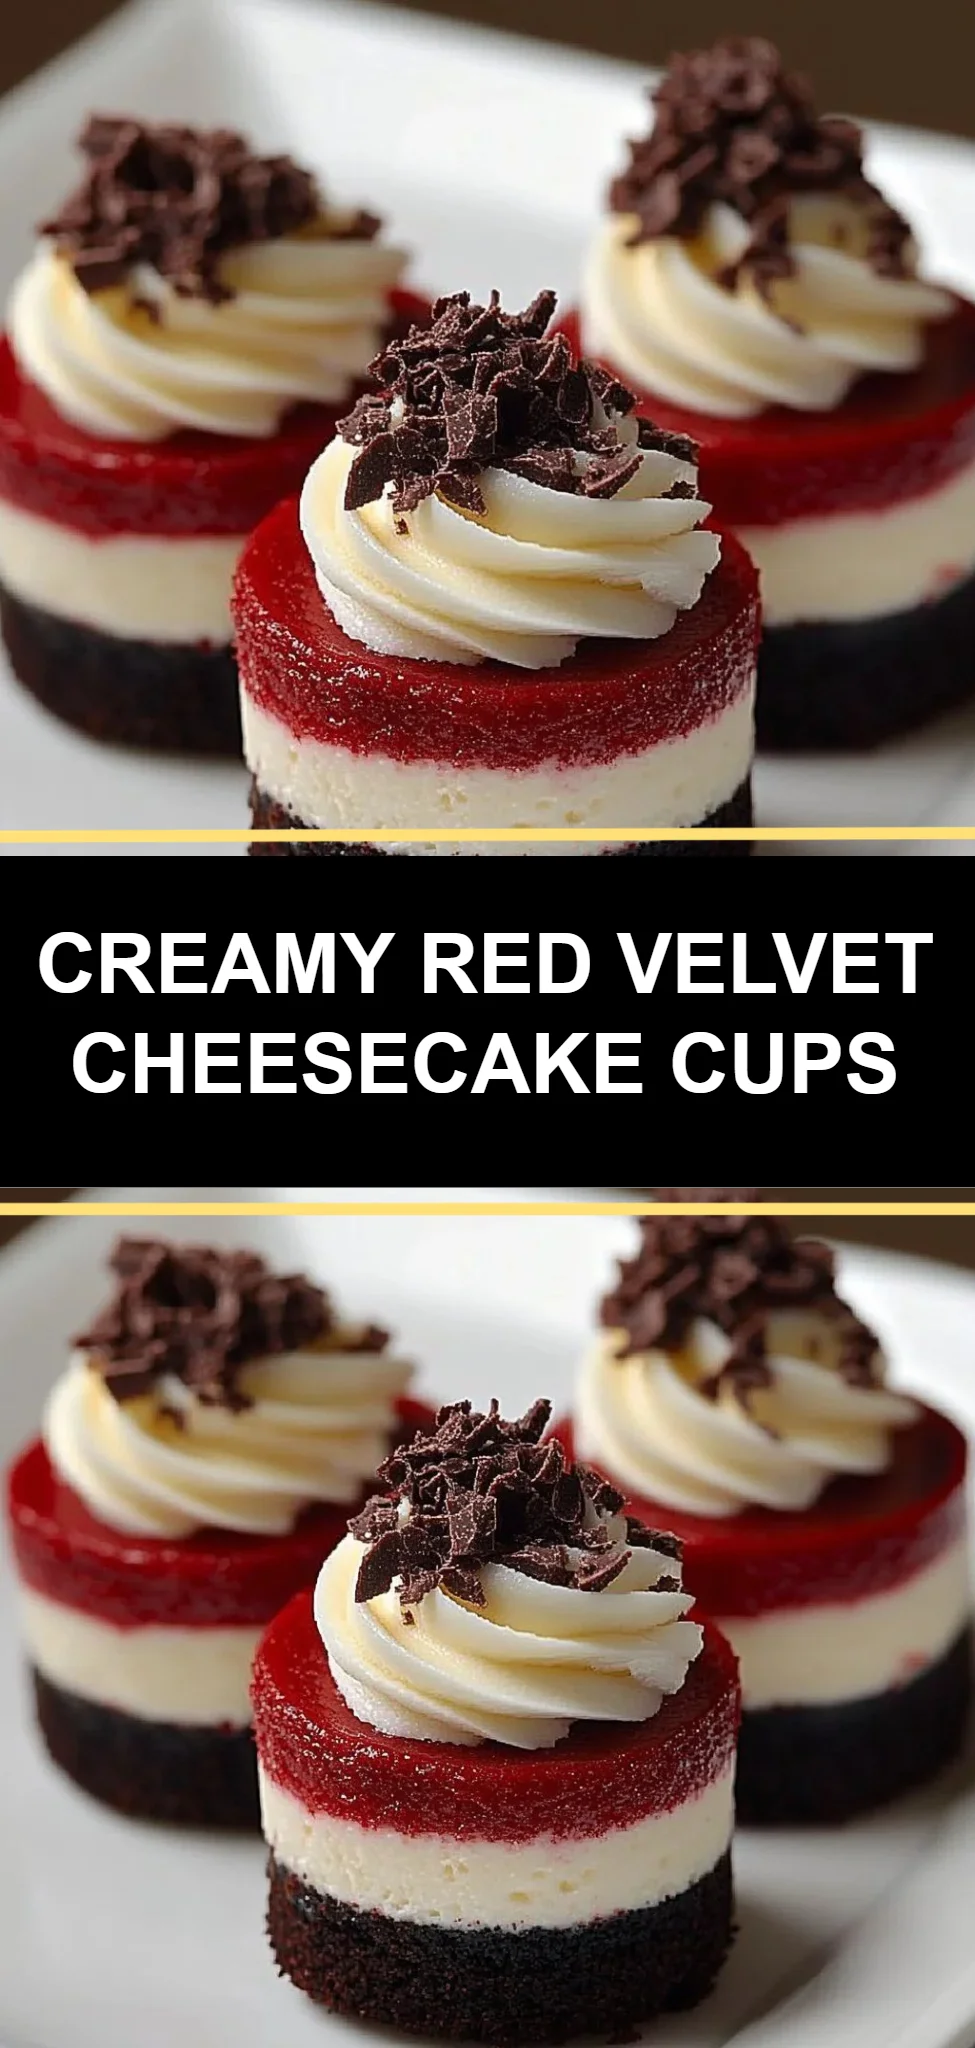
Red Velvet Cheesecake Cups are a decadent and delightful treat that marries the rich, velvety flavor of red velvet cake with the creamy, smooth texture of homemade cheesecake. Each cup is a bite-sized pleasure that evokes warmth and nostalgia, making them perfect for family gatherings, special occasions, or simply for indulging yourself. This recipe is incredibly easy to follow and is a fantastic way to impress your friends and family with minimal effort. Their vibrant color and delicious flavor combination make them an eye-catching addition to any dessert table. Prepare to embark on a step-by-step culinary adventure that will leave everyone craving more!
Ingredients
To create these delightful Red Velvet Cheesecake Cups, gather the following ingredients:
- 24 Chocolate sandwich cookies: The key to a rich and flavorful crust, these cookies add a delightful crunch.
- 6 tablespoons Melted butter: Rich and aromatic, it binds the crust perfectly, enhancing its flavor and texture.
- 16 ounces Cream cheese: At room temperature for smooth mixing, it provides the essential base for the creamy cheesecake layer.
- 1 cup Granulated sugar: Adds just the right amount of sweetness, balancing the rich flavors.
- 1 teaspoon Vanilla extract: Enhances flavor with its warm and aromatic qualities.
- 2 large Eggs: Beaten and at room temperature for optimal blending into the cheesecake mixture.
- 1 box Red velvet cake mix: This brings that signature red velvet taste, with all the enticing flavors packed in.
- 1 cup Buttermilk: Creamy and tangy, it’s a key ingredient in preparing the cake mix.
- 1/2 cup Vegetable oil: Adds moisture and richness to the red velvet layer.
- 1 cup Heavy whipping cream: To be whipped, it contributes an airy and luscious topping.
- 2 tablespoons Powdered sugar: Lightly sweetens the whipped cream for a perfect finishing touch.
- 1/2 cup Cookie crumbles: For sprinkling on top, these add a bit of crunch and visual appeal.
Cooking Time & Tips For Red Velvet Cheesecake Cups
Making Red Velvet Cheesecake Cups can fit into any schedule! You have the option of a quick preparation, where you can speedily make the crust, cheesecake, and cake layers, or you might choose to take your time, allowing the flavors to meld. A slower approach might involve allowing the cheesecake to cool gradually before refrigerating, ensuring its texture is rich and creamy.
Here are some practical tips for success:
- Room Temperature Ingredients: Ensure your cream cheese and eggs are at room temperature for easier mixing and better texture.
- Pre-Bake the Cheesecake Layer: Bake just until set to prevent overcooking, which can lead to cracks in the surface.
- Cool Completely: Cooling each layer thoroughly will help in achieving the perfect texture and flavor.
- Refrigerate Overnight: If time allows, refrigerating the cheesecake cups overnight intensifies the flavors and firmness.
Step-by-Step Directions
Let’s get started on making these delicious Red Velvet Cheesecake Cups! Get your apron on, and let’s cook together:
Preheat your oven to 325°F (160°C). The inviting aroma of baked goods will soon fill your kitchen, setting the stage for this delightful recipe.
Line a muffin tin with cupcake liners. Choose a fun and colorful design to add a splash of visual cheer to your dessert.
Combine crushed chocolate sandwich cookies with melted butter and mix until fully coated. Press this mixture firmly into the bottom of each liner to form a sturdy crust.
In a mixing bowl, beat the cream cheese and granulated sugar until the mixture is smooth and creamy. Add the vanilla extract and eggs, mixing until fully combined to create a luscious cheesecake filling. Spoon this mixture over the prepared crusts, ensuring an even layer.
Bake for 18-20 minutes or until the center is set, then cool completely. The perfect cheesecake layer will showcase a smooth surface and creamy interior.
Prepare the red velvet cake batter according to package directions—this typically involves mixing with the buttermilk, oil, and eggs. Gently spoon this vibrant mixture over the cheesecake layer, taking care not to disturb the layers below.
Bake for an additional 15-18 minutes and check the center with a toothpick. It should come out clean, indicating that the cakes are perfectly baked.
Cool in the pan for 15 minutes before transferring to a wire rack to cool to room temperature. Following this, refrigerate for at least 4 hours or overnight – this chilling step is vital for the textures to meld beautifully.
Once cooled, whip the heavy cream with powdered sugar until stiff peaks form. Pipe the whipped cream onto each cheesecake cup, creating a fluffy, cloud-like topping, and finish with a sprinkle of cookie crumbles.
Serve immediately and watch as faces light up in joy!
Serving Suggestions & Occasions
Red Velvet Cheesecake Cups are versatile treats that can be served at various occasions. They are the perfect centerpiece for holiday gatherings, birthday parties, or a family reunion. Pair them with a cup of coffee or tea for an afternoon snack, or present them on dessert tables at weddings and special events. Their charming individual size allows for easy serving and sharing.
Common Mistakes For Red Velvet Cheesecake Cups
- Overmixing: Be gentle when mixing your ingredients, especially the cheesecake layer, to avoid incorporating too much air, which could lead to cracks.
- Inadequate Cooling: Allow each layer to cool fully to prevent sogginess and ensure the layers set properly.
- Skipping the Refrigeration: Did you rush this part? Don’t overlook the chilling step; it’s crucial for achieving the right consistency and flavors.
Healthier Alternatives & Variations
If you’re looking for a healthier twist on your Red Velvet Cheesecake Cups, consider using reduced-fat cream cheese or Greek yogurt instead of regular cream cheese for a lighter feel. You can also substitute the granulated sugar with natural sweeteners like honey or maple syrup to lessen the sugar content. For dietary preferences, experiment with gluten-free sandwich cookies and cake mix to cater to those with gluten sensitivity.
FAQs
Can I make these ahead of time?
- Absolutely! These cheesecake cups can be prepared the day before and stored in the refrigerator until serving.
Can I use a different flavor of cake mix?
- Yes, feel free to experiment with other flavors, such as chocolate or vanilla, for a unique twist.
How do I store leftovers?
- Store any leftovers in an airtight container in the refrigerator for up to 3-4 days.
Can I freeze these cheesecake cups?
- While you can freeze them, the texture might change. It’s best enjoyed fresh.
What can I use instead of cream cheese?
- For a dairy-free option, you can use a plant-based cream cheese alternative.
Are they suitable for special diets?
- These cups can be modified with gluten-free products and dairy-free alternatives to suit various dietary needs.
Conclusion
There’s nothing quite like Red Velvet Cheesecake Cups to brighten up any gathering or indulge yourself after a long day. Their exquisite layers of flavor and sumptuous texture make them irresistible. So grab your ingredients, follow these easy steps, and treat yourself or your loved ones to a dessert that is sure to impress! Don’t wait—dive into this delightful recipe and enjoy every delicious bite!