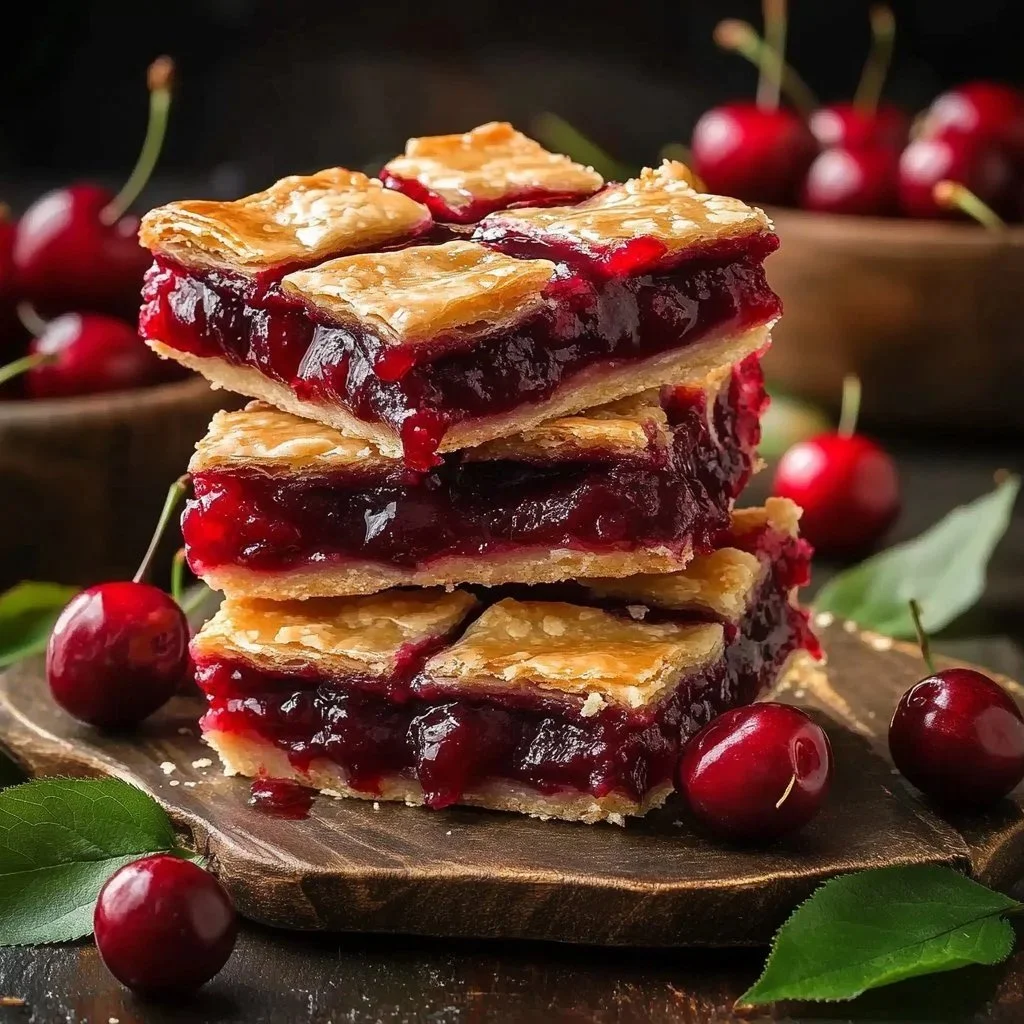
Easy Cherry Pie Bars are a delightful treat that will awaken your senses and fill your kitchen with the mouthwatering aroma of baked goodness. These delicious bars combine a tender crust with a rich cherry filling, creating a dessert that is not only comforting but also family-friendly and surprisingly easy to prepare. Perfect for gatherings, potlucks, or simply satisfying your sweet tooth at home, these cherry pie bars bring a sense of nostalgia with every bite. In this post, we’ll share the recipe in a step-by-step format, ensuring you can whip these up with ease and confidence.
Ingredients
To create your Easy Cherry Pie Bars, gather the following ingredients:
- 1 cup softened butter: This creamy butter will form the base of your crust, providing richness and moisture.
- 1 cup sugar: Granulated sugar adds sweetness and helps create that perfectly tender texture.
- 2 large eggs (room temperature): Eggs bind the ingredients together, adding structure and a lightness to the bar.
- 1 tsp almond extract: This aromatic extract infuses a lovely nutty flavor that complements the cherries beautifully.
- 1 tsp vanilla extract: Adding a touch of vanilla enhances the overall flavor profile, making your bars even more delicious.
- 2 ½ cups all-purpose flour: This versatile ingredient gives your bars the necessary structure while keeping them tender.
- ½ tsp salt: A pinch of salt balances the sweetness and enhances all the flavors.
- 1 (21 oz) can premium cherry pie filling: Juicy and flavorful, this canned cherry filling saves time, making the recipe even easier.
- 1 cup confectioners’ sugar: Used for the glaze, this sugar adds a sweet touch to finish your bars.
- 1 tsp almond extract: Another burst of almond flavor for the glaze, making it even more irresistible.
- ½ tsp vanilla extract: To continue the flavor harmony from the bars into the glaze.
- Milk as needed: To achieve the desired consistency for your glaze.
Cooking Time & Tips for Easy Cherry Pie Bars
When it comes to preparing Easy Cherry Pie Bars, you can choose between a quick or more leisurely approach. Quick preparation involves measuring out all your ingredients and following the steps without delay, while a slower pace allows for careful mixing and a more mindful baking experience.
Quick Preparation Tips:
- Assemble all ingredients before starting to streamline your process.
- Use a mixer for the creaming task to save time and effort.
- Set a timer to ensure perfect baking every time.
Slow Preparation Tips:
- Take your time to whip the butter and sugar until it’s fluffy for added texture.
- Carefully drizzle your glaze over the cooled bars to create beautiful designs.
No matter your pace, the result will be the same: delicious, comforting bars that everyone will love!
Step-by-Step Directions
- Preheat your oven to 350°F (175°C). This initial step sets the stage for perfectly baked bars.
- In a mixing bowl, cream together the softened butter and sugar until the mixture is light and fluffy. You should notice a pleasing pale yellow color as air gets incorporated.
- Add the eggs, almond extract, and vanilla extract to the bowl, blending until everything is combined and smooth; the mixture should feel velvety.
- In a separate bowl, mix together the flour and salt. Gradually incorporate this dry mixture into the wet ingredients, mixing until a tender dough forms that doesn’t stick to your hands.
- Press half of the dough into a prepared baking pan to create a base for your pie bars. Make sure the layer is even and covers the entire bottom of the pan.
- Spread the cherry filling evenly over the crust, using a spatula for an even layer of juicy cherries that will burst with flavor.
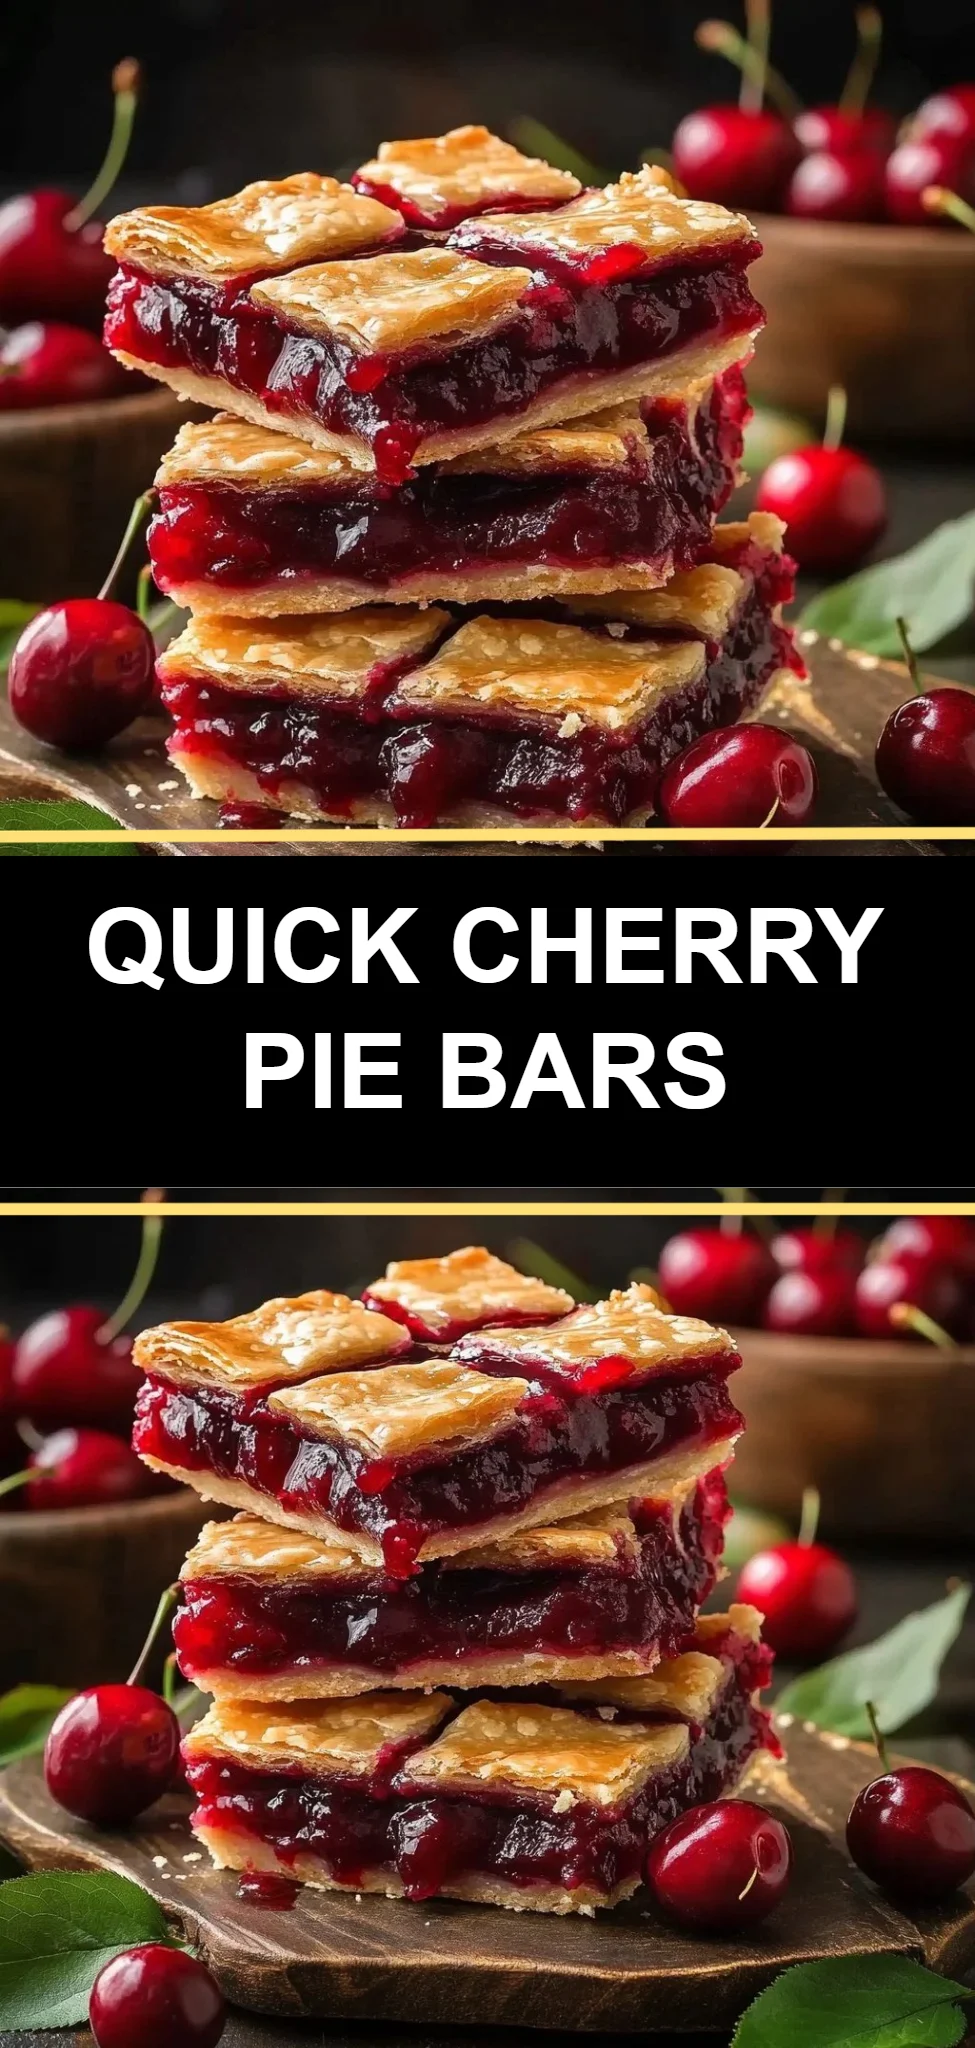
- Dollop the remaining dough over the cherry filling in small pieces. Your goal is to create a beautiful, rustic look that leaves some of the cherries peeking through.
- Bake for 35-40 minutes, until the top is golden brown; your kitchen will smell heavenly at this point.
- Allow the bars to cool in the pan before drizzling with glaze to prevent the glaze from melting away.
- To make the glaze, whisk together the confectioners’ sugar, almond extract, vanilla, and enough milk to achieve your desired consistency. It should be pourable yet thick enough to hold its shape.
- Drizzle the glaze over the cooled bars and let it set before slicing into squares. This finishing touch adds both sweetness and elegance.
Serving Suggestions & Occasions
Easy Cherry Pie Bars are incredibly versatile, making them perfect for various occasions. Serve these delightful treats at family gatherings, bake sales, or as a sweet surprise for your children after school. They also make an excellent dessert for celebrations like birthdays, picnics, or holiday events, bringing warmth and joy to any table. Pair them with a scoop of vanilla ice cream or a dollop of whipped cream for an indulgent dessert experience.
Common Mistakes for Easy Cherry Pie Bars
Avoid these common pitfalls to ensure your Easy Cherry Pie Bars turn out perfectly every time:
- Overmixing the dough: This can lead to tough bars. Mix just until combined for a tender texture.
- Not using room-temperature eggs: Cold eggs can create a lumpy batter, so make sure they are at room temperature.
- Inadequate cooling: Allowing the bars to cool too quickly can cause them to crumble. Patience is key to achieving that perfect slice.
- Skipping the glaze: The glaze is the finishing touch that elevates these bars, so don’t skip it!
Healthier Alternatives & Variations
If you’re looking to lighten up your Easy Cherry Pie Bars or experiment with flavors, consider these alternatives:
- Whole Wheat Flour: Swap half of the all-purpose flour for whole wheat for added fiber and nutrients.
- Sugar Substitutes: Use natural sweeteners like honey or maple syrup to reduce refined sugar.
- Fruit Variations: Try using different pie fillings, such as blueberry or apple, for a delightful twist.
- Nut-Free: Omit the almond extract and use extra vanilla for a nut-free option.
FAQs
Can I freeze Easy Cherry Pie Bars?
Yes! Wrap them tightly in plastic wrap or foil and freeze for up to three months.How do I store leftovers?
Keep them in an airtight container at room temperature for up to three days or in the fridge for up to a week.Can I use fresh cherries instead of canned pie filling?
Absolutely! Just pit and slice fresh cherries and mix them with a bit of sugar and cornstarch for a homemade filling.What’s the best way to cut the bars?
Use a sharp knife and cut them while they are still cool for clean slices. Wipe the knife between cuts for precision.Can I make the dough ahead of time?
Yes, you can make the dough in advance and chill it in the refrigerator for a few hours before baking.Is it necessary to add the glaze?
While the glaze enhances the flavor and appearance, you can skip it if you prefer a simpler dessert.
Conclusion
Easy Cherry Pie Bars are a must-try recipe that brings together all the comforting flavors we crave in a dessert. With simple ingredients and straightforward steps, you can create a beloved treat that will delight your family and friends. Whether it’s for a special occasion or just a sweet indulgence, these bars promise to be a hit. So, don your apron, gather your ingredients, and try making this recipe today—your taste buds will thank you!
Easy Cherry Pie Bars
Ingredients
For the crust and filling
- 1 cup softened butter This creamy butter will form the base of your crust, providing richness and moisture.
- 1 cup granulated sugar Adds sweetness and helps create that perfectly tender texture.
- 2 large eggs (room temperature) Bind the ingredients together, adding structure and lightness.
- 1 tsp almond extract Infuses a nutty flavor that complements the cherries beautifully.
- 1 tsp vanilla extract Enhances the overall flavor profile.
- 2.5 cups all-purpose flour Gives your bars the necessary structure while keeping them tender.
- 0.5 tsp salt Balances the sweetness and enhances all the flavors.
- 1 can (21 oz) premium cherry pie filling Saves time, making the recipe easier.
For the glaze
- 1 cup confectioners’ sugar Adds a sweet touch to finish your bars.
- 1 tsp almond extract Another burst of almond flavor for the glaze.
- 0.5 tsp vanilla extract To continue the flavor harmony from the bars.
- milk as needed milk To achieve the desired consistency for your glaze.
Instructions
Preparation
- Preheat your oven to 350°F (175°C).
- In a mixing bowl, cream together the softened butter and sugar until light and fluffy.
- Add the eggs, almond extract, and vanilla extract to the bowl, blending until smooth.
- In a separate bowl, mix together the flour and salt. Gradually incorporate this dry mixture into the wet ingredients.
- Press half of the dough into a prepared baking pan to create a base for the pie bars.
- Spread the cherry filling evenly over the crust.
- Dollop the remaining dough over the cherry filling in small pieces.
Baking
- Bake for 35-40 minutes until the top is golden brown.
- Allow the bars to cool in the pan.
- To make the glaze, whisk together the confectioners’ sugar, almond extract, vanilla, and enough milk for desired consistency.
- Drizzle the glaze over the cooled bars and let it set before slicing.