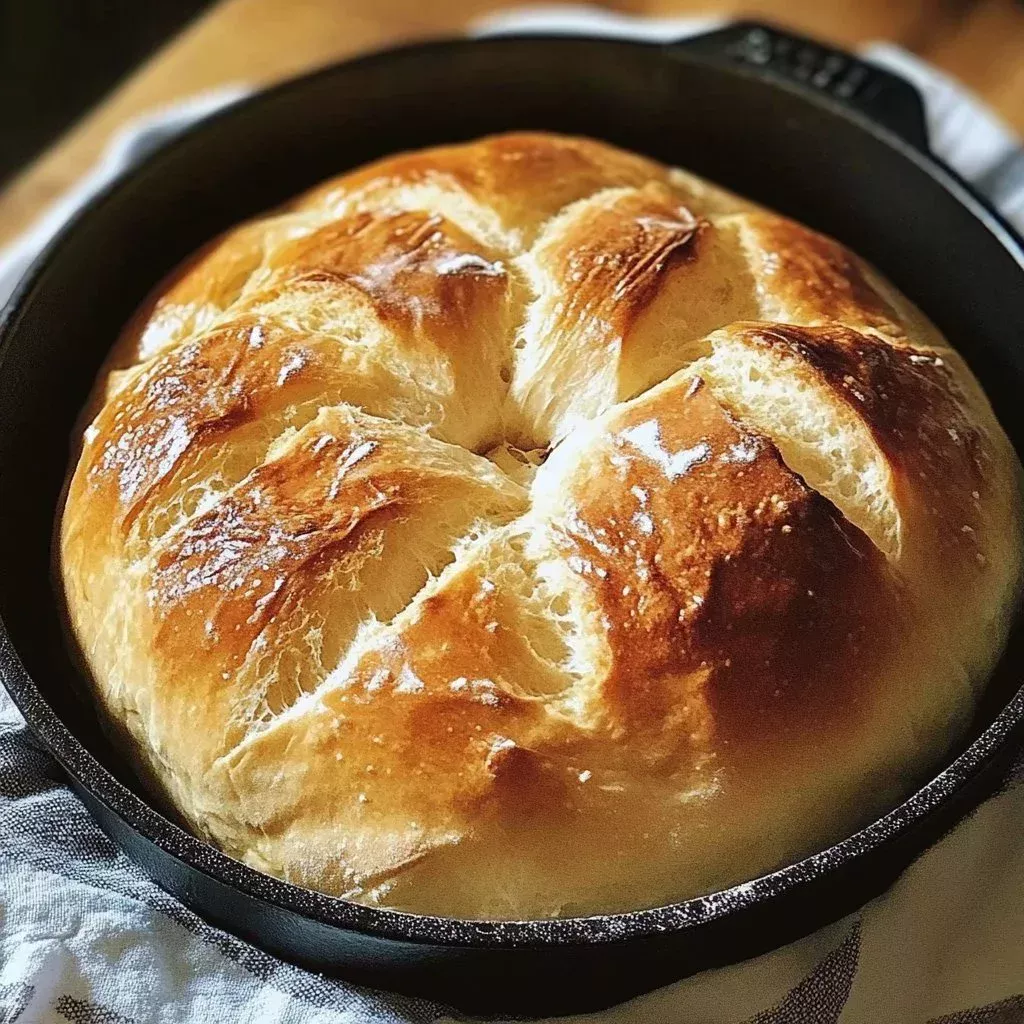
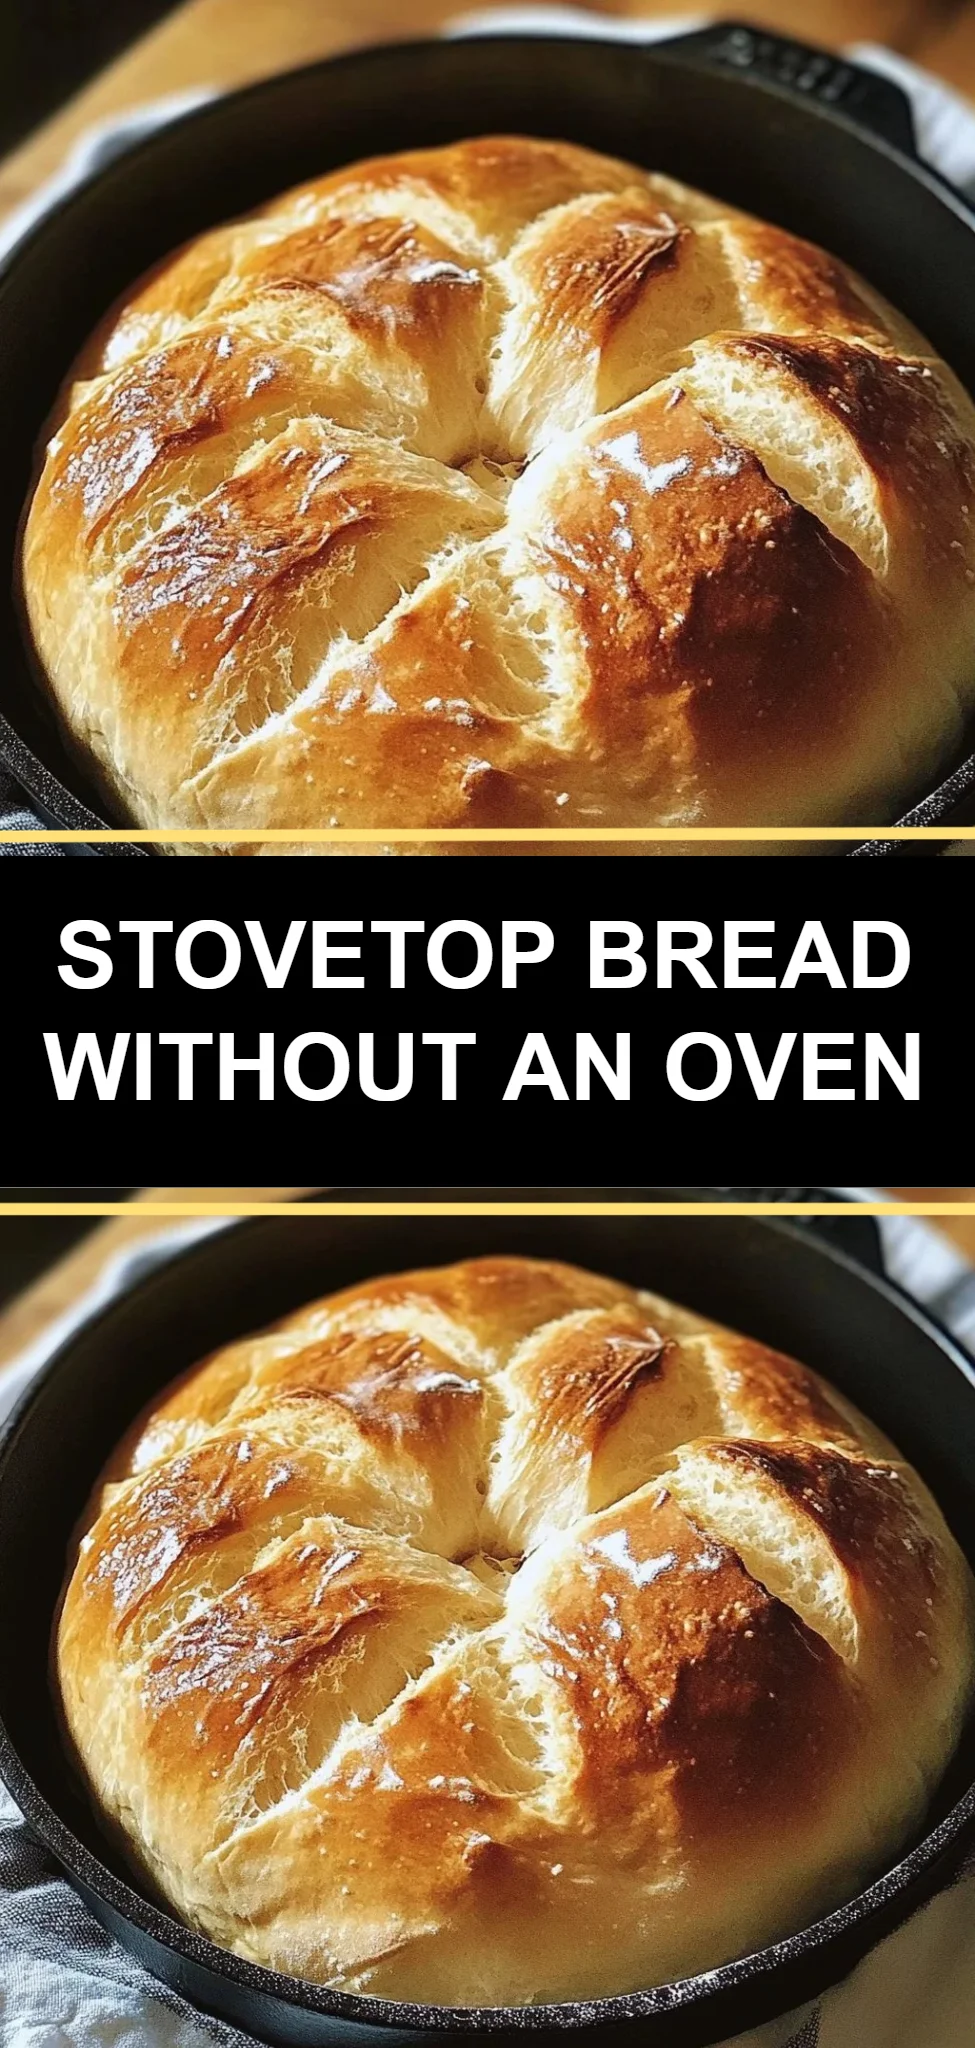
No-Oven Stovetop Bread is a delightful and comforting recipe that brings the warmth of freshly baked bread to your kitchen without the need for an oven. Imagine the aroma of golden brown bread wafting through your home, creating a sense of nostalgia as you gather around the table with family and friends. This easy-to-follow, step-by-step guide will take you through making this tender, fluffy bread that’s perfect for any occasion. It’s family-friendly, quick to prepare, and an excellent way to introduce children to the joys of baking. Whether you’re pairing it with stews or enjoying it with a spread of butter, No-Oven Stovetop Bread is sure to become a favorite in your home.
Ingredients
For this Stovetop Bread, you will need:
- 1 cup all-purpose flour: Soft and fluffy, providing a tender crumb.
- 1 teaspoon baking powder: For that perfect rise, ensuring a light texture.
- 1/4 teaspoon salt: Enhancing flavor for a delicious, savory bread.
- 1/4 cup unsalted butter, melted: Rich and creamy, adding moisture and depth.
- 1/2 cup milk: Creamy and aromatic, marrying all the flavors together.
- 1 large egg: Binding the ingredients with its smoothness and richness.
- 1/4 cup warm water: Activating the yeast, giving the bread life.
- 1 teaspoon sugar: Feeding the yeast and helping it bloom.
- 1 teaspoon active dry yeast: Essential for a delightful fluffiness.
- 1 tablespoon olive oil (for frying): Producing a lovely golden crust.
All ingredients are halal, ensuring everyone can enjoy this comforting dish.
Cooking Time & Tips For No-Oven Stovetop Bread
The beauty of Stovetop Bread lies in its quick preparation. It’s a fantastic option for busy families or anyone seeking a speedy bread-making experience. On average, you’ll spend about 2 hours from start to finish, including rising time. Quick preparations typically range from 30 minutes to an hour, while slow preparations may involve longer rising times for enhanced flavor and texture.
To ensure your No-Oven Stovetop Bread turns out perfectly, remember these tips: Keep your dough slightly sticky but manageable. Make sure your yeast is fresh for good rising action, and maintain a gentle, steady heat on the stovetop to avoid burning the bread. Any extra attention and care you give will reward you with delicious results.
Step-by-Step Directions
Activate your yeast: In a small bowl, combine 1/4 cup of warm water, 1 teaspoon of sugar, and 1 teaspoon of active dry yeast. Allow it to sit for about 5-10 minutes until it becomes foamy. This step is essential for ensuring your bread rises beautifully, creating that lovely texture we all desire.
Mix dry ingredients: In a large mixing bowl, whisk together 1 cup of all-purpose flour, 1 teaspoon of baking powder, and 1/4 teaspoon of salt. These dry ingredients form the foundation of your dough, and whisking them well will ensure even distribution of the leavening agent.
Combine wet and dry: Make a well in the center of your dry mixture and pour in the yeast mixture, 1/4 cup of melted unsalted butter, 1/2 cup of milk, and 1 large egg. Stir gently until a soft, sticky dough begins to form. It’s important not to over-mix; you want the dough to remain tender.
Knead: Transfer the dough onto a lightly floured surface and knead it for 8-10 minutes until it transforms into a smooth and elastic ball. This process develops the gluten, giving your bread that delightful chew.
Let it rise: Place your dough in a lightly oiled bowl, cover it with a clean towel, and let it rise in a warm place for about 1 to 1.5 hours or until it has doubled in size. This magical transformation is what gives the bread its fluffy characteristics.
Shape the dough: After the rise, gently punch down the dough to release air. Shape it into a loaf and let it rise for another 30 minutes. This second rise will help ensure your bread is light and not dense.
Cook on stovetop: Heat a non-stick skillet over medium-low heat and add 1 tablespoon of olive oil. Carefully place the dough into the skillet, cover it, and cook for about 5-7 minutes on each side, until it turns golden brown. The lid traps the steam, aiding in the cooking process.
Cool and serve: Once cooked, let the bread cool for a few minutes, and then slice it up. The moment you cut into it, the tender texture and rich aroma will make it irresistible.
Serving Suggestions & Occasions
No-Oven Stovetop Bread is versatile and can be enjoyed in various ways. Serve it warm with a spread of butter or jam for breakfast, or slice it to accompany soups and stews for dinner. It makes great sandwiches for lunch or can be served as a side dish for a family gathering. Impress your guests and celebrate special occasions by adding this homemade bread to your table—a perfect pairing for festive meals or cozy family evenings alike!
Common Mistakes For No-Oven Stovetop Bread
Making bread can be intimidating, and there are a few common pitfalls to avoid. One mistake is not ensuring your yeast is properly activated; if it’s not foamy after mixing it with warm water, it won’t rise. Also, be careful not to over-knead the dough, as this can lead to a tougher texture. Lastly, maintaining the right heat on your stovetop is crucial; too high of a temperature may cause the outside to burn while leaving the inside raw. With some attention and care, you can easily avoid these mistakes and create a perfect loaf.
Healthier Alternatives & Variations
For a healthier twist, consider using whole wheat flour instead of all-purpose flour, or incorporate seeds such as flaxseed or chia seeds for added nutrition. You can also experiment with adding herbs and spices, such as rosemary or garlic powder, to give your bread a unique flavor profile. For a richer taste, try substituting some of the butter with yogurt. Each variation opens the door to endless possibilities while still retaining the comforting qualities of this No-Oven Stovetop Bread.
FAQs
Can I freeze No-Oven Stovetop Bread?
Yes, it freezes well. Simply wrap it tightly in plastic wrap and place it in an airtight container or resealable bag.Can I use non-dairy milk?
Absolutely! Almond milk, soy milk, or oat milk are great substitutes and work perfectly in this recipe.What if my dough isn’t rising?
Ensure that your yeast is fresh and that you’re using warm water (not too hot). The dough also needs a warm environment to rise effectively.What other toppings can I add?
Consider adding cheese, olives, sun-dried tomatoes, or nuts for extra flavor.Can I double the recipe?
Yes, feel free to double the recipe; you may need to cook the bread in batches for even cooking.How can I tell when the bread is done cooking?
The bread should be golden brown on both sides and sound hollow when tapped on the bottom.
Conclusion
There’s no reason to hesitate; making No-Oven Stovetop Bread is a delightful adventure worth embarking on! The combination of tender texture and rich flavors will transport you to a comforting place with every bite. Your family and friends will be amazed at your cooking prowess, and you’ll relish the satisfaction of having created something homemade. So roll up those sleeves, gather your ingredients, and let the magic unfold in your kitchen today!
No-Oven Stovetop Bread
Ingredients
For the bread
- 1 cup all-purpose flour Soft and fluffy, providing a tender crumb.
- 1 teaspoon baking powder For that perfect rise, ensuring a light texture.
- 1/4 teaspoon salt Enhancing flavor for a delicious, savory bread.
- 1/4 cup unsalted butter, melted Rich and creamy, adding moisture and depth.
- 1/2 cup milk Creamy and aromatic, marrying all the flavors together.
- 1 large egg Binding the ingredients with its smoothness and richness.
- 1/4 cup warm water Activating the yeast, giving the bread life.
- 1 teaspoon sugar Feeding the yeast and helping it bloom.
- 1 teaspoon active dry yeast Essential for a delightful fluffiness.
- 1 tablespoon olive oil (for frying) Producing a lovely golden crust.
Instructions
Preparation
- In a small bowl, combine 1/4 cup of warm water, 1 teaspoon of sugar, and 1 teaspoon of active dry yeast. Allow it to sit for about 5-10 minutes until it becomes foamy.
- In a large mixing bowl, whisk together 1 cup of all-purpose flour, 1 teaspoon of baking powder, and 1/4 teaspoon of salt.
- Make a well in the center of your dry mixture and pour in the yeast mixture, 1/4 cup of melted unsalted butter, 1/2 cup of milk, and 1 large egg. Stir gently until a soft, sticky dough begins to form.
- Transfer the dough onto a lightly floured surface and knead it for 8-10 minutes until it becomes smooth and elastic.
- Place your dough in a lightly oiled bowl, cover it with a clean towel, and let it rise in a warm place for about 1 to 1.5 hours or until it has doubled in size.
- Gently punch down the dough to release air, shape it into a loaf, and let it rise for another 30 minutes.
Cooking
- Heat a non-stick skillet over medium-low heat and add 1 tablespoon of olive oil.
- Carefully place the dough into the skillet, cover it, and cook for about 5-7 minutes on each side, until it turns golden brown.
- Once cooked, let the bread cool for a few minutes, and then slice it up.